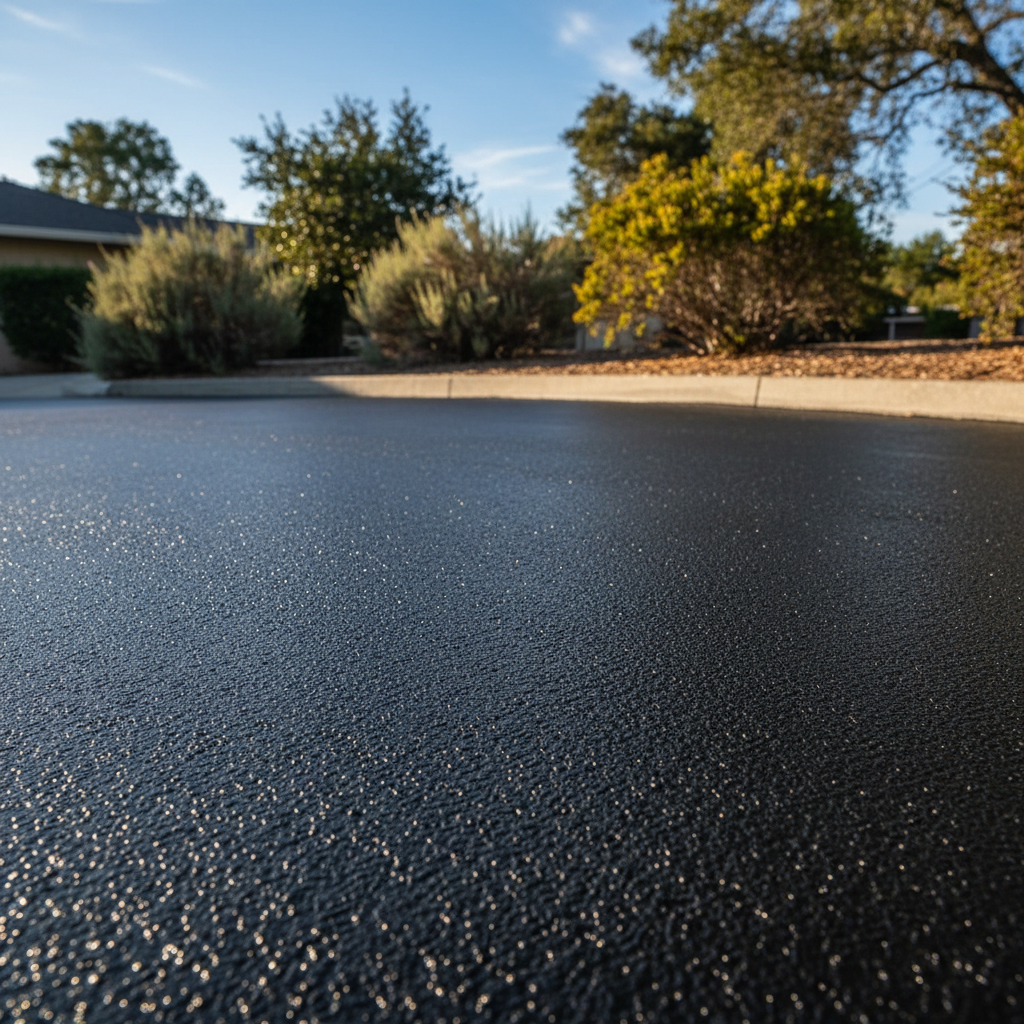
Alright, let's talk about slurry coating your driveway right here in Palo Alto. You've probably seen it on city streets or maybe even at a neighbor's house, and now you're wondering if you can just tackle it yourself. Good question, and honestly, the answer isn't always a simple 'yes' or 'no.' I've been doing this a long time, and I've seen plenty of driveways—some looking great, others not so much—after a coating job. So, let's really dig into what you need to know before, during, and after you start a slurry coating project.
What Exactly is Slurry Coating?
First things first, let's clear up what we're actually talking about here. A slurry seal isn't just paint for your driveway, not by a long shot. It's a special mix of asphalt emulsion, water, really fine aggregates (think tiny crushed rock), and some other additives. When we put it down, it creates a brand-new surface layer that fills up those small cracks, keeps water out, and gives your asphalt a nice, fresh, uniform look. It's thicker than a regular sealcoat, and it has a rougher texture, which means better grip for your tires.
Before You Start: Planning & Prep
This is usually where most DIY projects go completely wrong, isn't it? Proper preparation is absolutely crucial, whether you're doing it yourself or hiring someone. If you skip steps here, you're just throwing away your time and money.
- Check Out Your Driveway: Slurry seal works best on asphalt that's still in pretty good shape—just minor cracking, no major structural damage, and definitely no potholes. If you've got big cracks (wider than, say, a quarter-inch), deep ruts, or areas that are crumbling, those need fixing first. A slurry coat won't magically solve underlying structural problems; it's really more of a preventative maintenance thing.
- Clean, Clean, Clean: You can't just glob this stuff over dirt and debris. The surface has to be spotless, truly. That means sweeping, blowing, and maybe even pressure washing to get rid of every bit of loose material, dust, leaves, and oil spots. Any flaking or oxidized stuff? It's gotta go. If the surface isn't clean, the slurry won't stick right, and you'll see it peel or lift.
- Fix Those Cracks: Remember those wider cracks I mentioned? Seal them up with an approved crack sealer. Water is asphalt's worst enemy, especially with our clay-rich soils here in Palo Alto that, let's be honest, don't drain very well. Sealing cracks stops water from getting into your base layer and causing bigger headaches, like potholes.
- Weather is Everything: This isn't a job for a foggy morning or a rainy day, period. You need dry weather, and the temperature has to be just right—typically somewhere between 50 and 85 degrees Fahrenheit. If it's too hot, the slurry dries too fast and won't cure correctly. If it's too cold or damp, it takes forever to set, leaving it vulnerable. Our Palo Alto climate, with its marine layer and temperature swings, means you really have to pick your day carefully.
DIY vs. Professional: The Honest Truth
Can you do it yourself? For a small, simple driveway that's in good condition, maybe. You can pick up slurry seal kits at home improvement stores. The main upside there is potentially saving some money on labor. You'll need a stiff broom, a squeegee or brush applicator, and some crack filler.
But here's where I'm going to be really direct: slurry coating is a bit more involved than just regular sealcoating. Slurry seal uses bigger aggregates, and you apply it thicker. Getting an even, professional-looking application with consumer-grade materials and basic tools can be tough. You might end up with uneven coverage, streaks, or spots that just don't bond well.
For most residential driveways, especially if they're larger, have a few minor flaws, or you just want a result that actually lasts, I'd strongly suggest hiring a pro. Here's why:
- Materials & Equipment: Professionals use commercial-grade slurry mixes and specialized equipment that ensures a consistent, high-quality application. They've got the big trucks that mix the material right there on-site and spreader boxes for really even distribution.
- Expertise: We've got the experience to properly assess your driveway, handle all the necessary repairs, and put down the slurry efficiently. We know how to work with the material to get a smooth, durable finish.
- Time & Effort: This is a physically demanding job, and it takes a lot of time. A professional crew can get it done much faster, usually in a day, saving you a whole weekend of hard labor.
- Longevity: A professionally applied slurry seal, using better materials and techniques, will generally last longer and perform better than a DIY job. You're probably looking at 8-10 years for a good slurry seal, compared to potentially less for a DIY sealcoat.
During the Application: What to Expect
If you hire All Things Asphalt Inc, we'll make sure the surface is prepped just right. On the day of application, the crew will typically sweep the area one last time. Then, the slurry mixture goes down, usually with a specialized machine that spreads it evenly. Workers follow behind with squeegees to make sure it's covered properly and to keep it off areas like concrete curbs.
You'll need to keep all traffic off the newly coated surface for at least 24 hours, sometimes even longer depending on the temperature and humidity. Pedestrians and pets should also stay off it to avoid messing up the application or tracking it everywhere. Water will really hinder the curing process, so turn off your sprinklers and make sure no runoff gets onto the street.
After the Project: Curing & Care
Once the slurry is down, it needs time to fully cure and wear in. It might look a little brown at first, but don't worry, it'll turn to a deeper black as it cures. You might also notice some small bits of aggregate coming loose, which is totally normal and will just get swept up.
- Drive Carefully: The new surface will be tender for a while. Try to avoid sharp turns or turning your wheels when you're stopped, as this can scuff or mar the new slurry. These marks are usually just on the surface and will smooth out over time with traffic and weather.
- Sweeping: Don't be surprised if you see some fine gravel or 'raveling' come off in the first week or two. This is just part of the surface wearing in. If a professional did the job, they might even schedule a sweep.
- Ongoing Maintenance: A slurry seal definitely extends the life of your pavement, but it doesn't mean you can forget about maintenance entirely. Keep it clean, take care of any new cracks that pop up, and stay away from harsh chemicals.
Slurry coating is a really solid investment for your Palo Alto home, extending your asphalt's life and definitely boosting that curb appeal. Just make sure you understand the whole process and make an informed decision about whether to DIY or bring in the pros. Your driveway will seriously thank you for it.